
Week 02: Animation Blocking and RBD Preparations
I. Rough Animation Blocking
I started the week by making a rough animation block out for the character interacting with the photon beam.
II. Proxy Photon Beam
Next, I created a proxy of the Photon Beam FX setup striking the ground setup to map the contact region to prepare for the RBD fracturing simulation setup later.
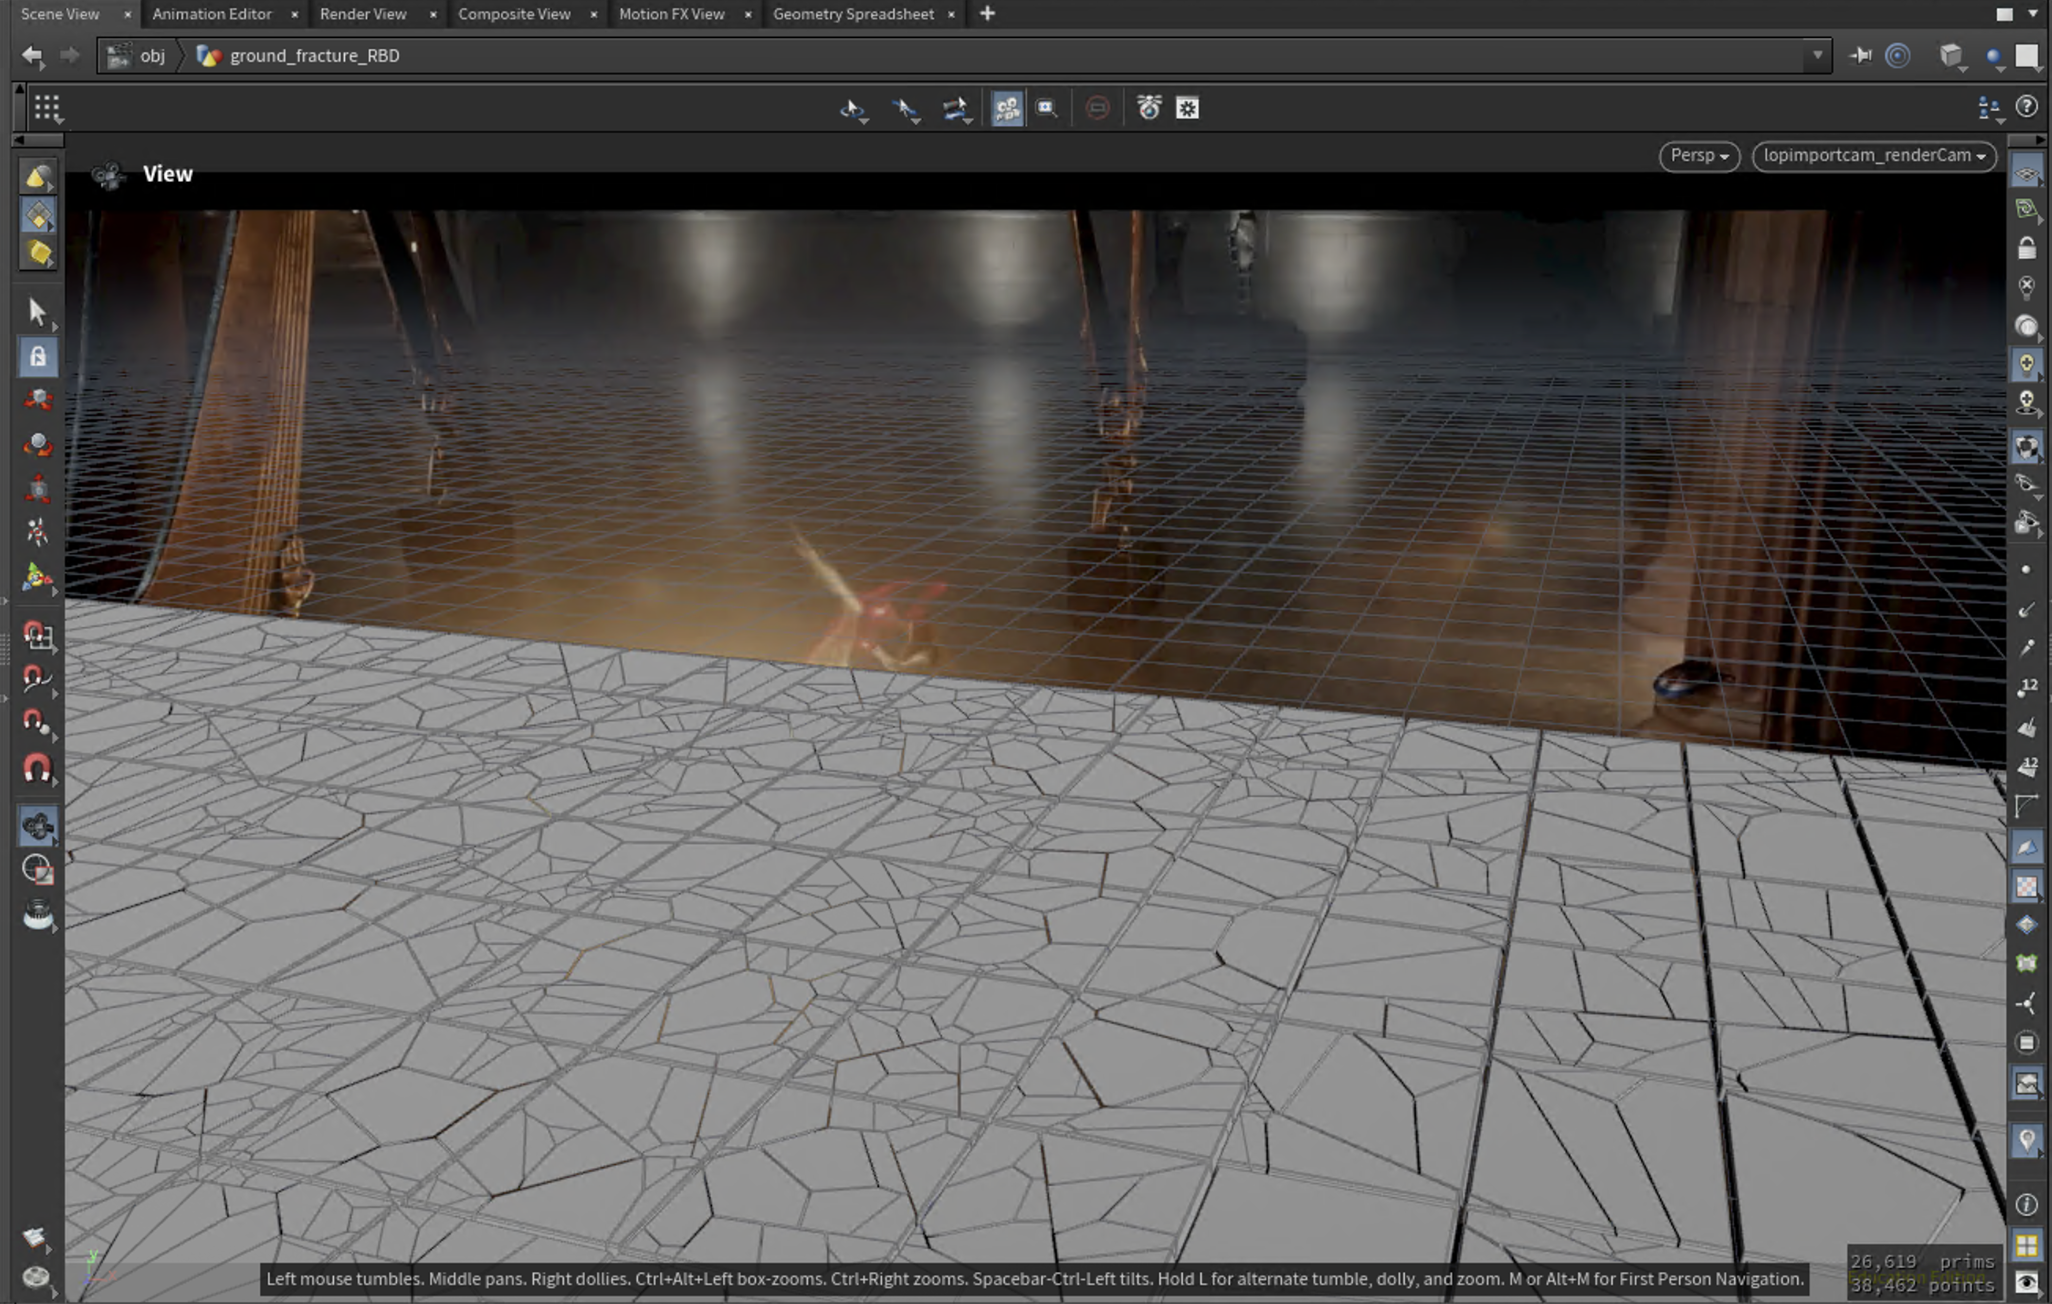
III. RBD Prep: Fracturing
Using the generated tiled ground surface, I captured the main fracture region where the photon beam strikes the ground and blasts off the non-fracture region. This fractured ground region is then used in the later steps to perform the RBD fracture, packing, and calculating the active region of the destruction.
The Contact Map tool, originally developed by my supervisor and Vy Lam for previous project setups, immediately caught my interest. Vy shared her approach to building this tool, explaining its key features and functionality. With these insights, I attempted to recreate the tool to deepen my understanding of its implementation and potential applications.
At its core, the Contact Map tool provides an efficient method for visualizing and analyzing object interactions within a simulation. It defines a specific scope using start and end frames, ensuring that computations focus only on key impact moments, thereby optimizing simulation performance.
The tool operates through a solver-based approach, where the Emit Solver identifies and accumulates contact areas between objects over time. To enhance performance, caching mechanisms are employed, allowing for faster data retrieval and avoiding redundant simulations. The Emit Mask is crucial in isolating the contact surface, enabling high-fidelity fracture regions essential for refined RBD fracture formation. Additionally, the Mask from Geometry feature allows for further refinement of the contact surface, providing users with greater flexibility in shaping the simulation outcome.
1. Calculating Fracture Region
A. Ground Fracture

For the fracture setup, I utilized the RBD Material Fracture to generate an initial fracture pattern based on scattered points derived from the Contact Map. This provided a rough fracture structure, which would be further refined in later stages. Additionally, I packed the primitives using an Auto DOPs Network, which plays a crucial role in the next stage—calculating the active fracture regions for more precise simulation control.
2. Fracture Setup

Since the simulation only needs to run based on the fracture region defined by the Contact Map, I utilized an active Solver to control the number of pieces activated during the beam-ground interaction. Similar to the Emit Mask in the Contact Map subnetwork, I used the Mask from Geometry node to isolate the active region, ensuring that only the relevant fractured pieces were included in the simulation.
The active attribute generated by this setup determines when and where a fracture piece becomes active upon contact. However, unlike the original Contact Map approach, my setup required the fractured pieces that interacted with the beam to persist throughout the simulation, rather than disappearing immediately after impact. To achieve this, the activation data was accumulated frame by frame, maintaining the affected pieces in the simulation over time.
3. Active Solver and Visualization

Through a New Lens: Designing a Hybrid RBD Fracture Workflow
Through this Destruction Workflow, I gained valuable insights into simulation optimization, solver integration, and data-driven contact mapping. However, I quickly realized that the Contact Map tool is best suited for continuous collider-surface interactions, where persistent contact between objects is necessary. In contrast, my specific shot setup involved a single photon beam striking the ground, rather than an ongoing interaction. As a result, this tool was not an optimal approach for my scenario.
Moving forward, I will shift my focus from contact mapping to researching and developing a custom RBD fracturing setup. While Houdini provides built-in fracturing tools, I aim to construct a fracture pattern that blends the radial break characteristics of glass with the structural complexity of concrete fractures. This hybrid approach will guide my process, allowing me to refine the fracture pattern with artistic and structural intent. By prioritizing fracturing first, I can establish the breakup of the geometry before calculating contact interactions, ensuring a more tailored and controlled destruction workflow.